Working in AI Chat
Quick Overview
The AI Chat is the central place for working with AI. You can write or dictate text, upload files, and generate text and images (images, if enabled for the respective agent).
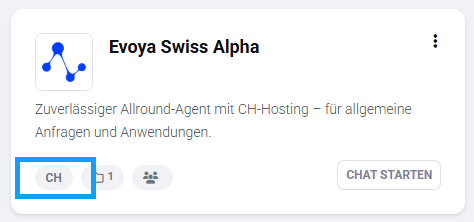
Content processing is based on the configuration of the AI agent being used, particularly the AI model deployed and the location of data processing. Where your data is processed (CH, EU, or US) can be seen in the agent overview in the side menu under Agents, directly on the respective agent card.
The AI Chat is suitable for both spontaneous tasks and structured workflows.
AI Chat Structure (Overview)
The AI Chat consists of:
- the chat view, where the conversation is displayed
- the chat input field for entries and actions
- a header bar with control functions
- a sidebar with chat history and favorites
- agent selection for working with different AI agents
1. Chat View
The chat view shows the ongoing conversation between user and AI. Here, inputs, AI responses, and generated content such as text or images are displayed chronologically. The chat view is exclusively for displaying and tracking content.
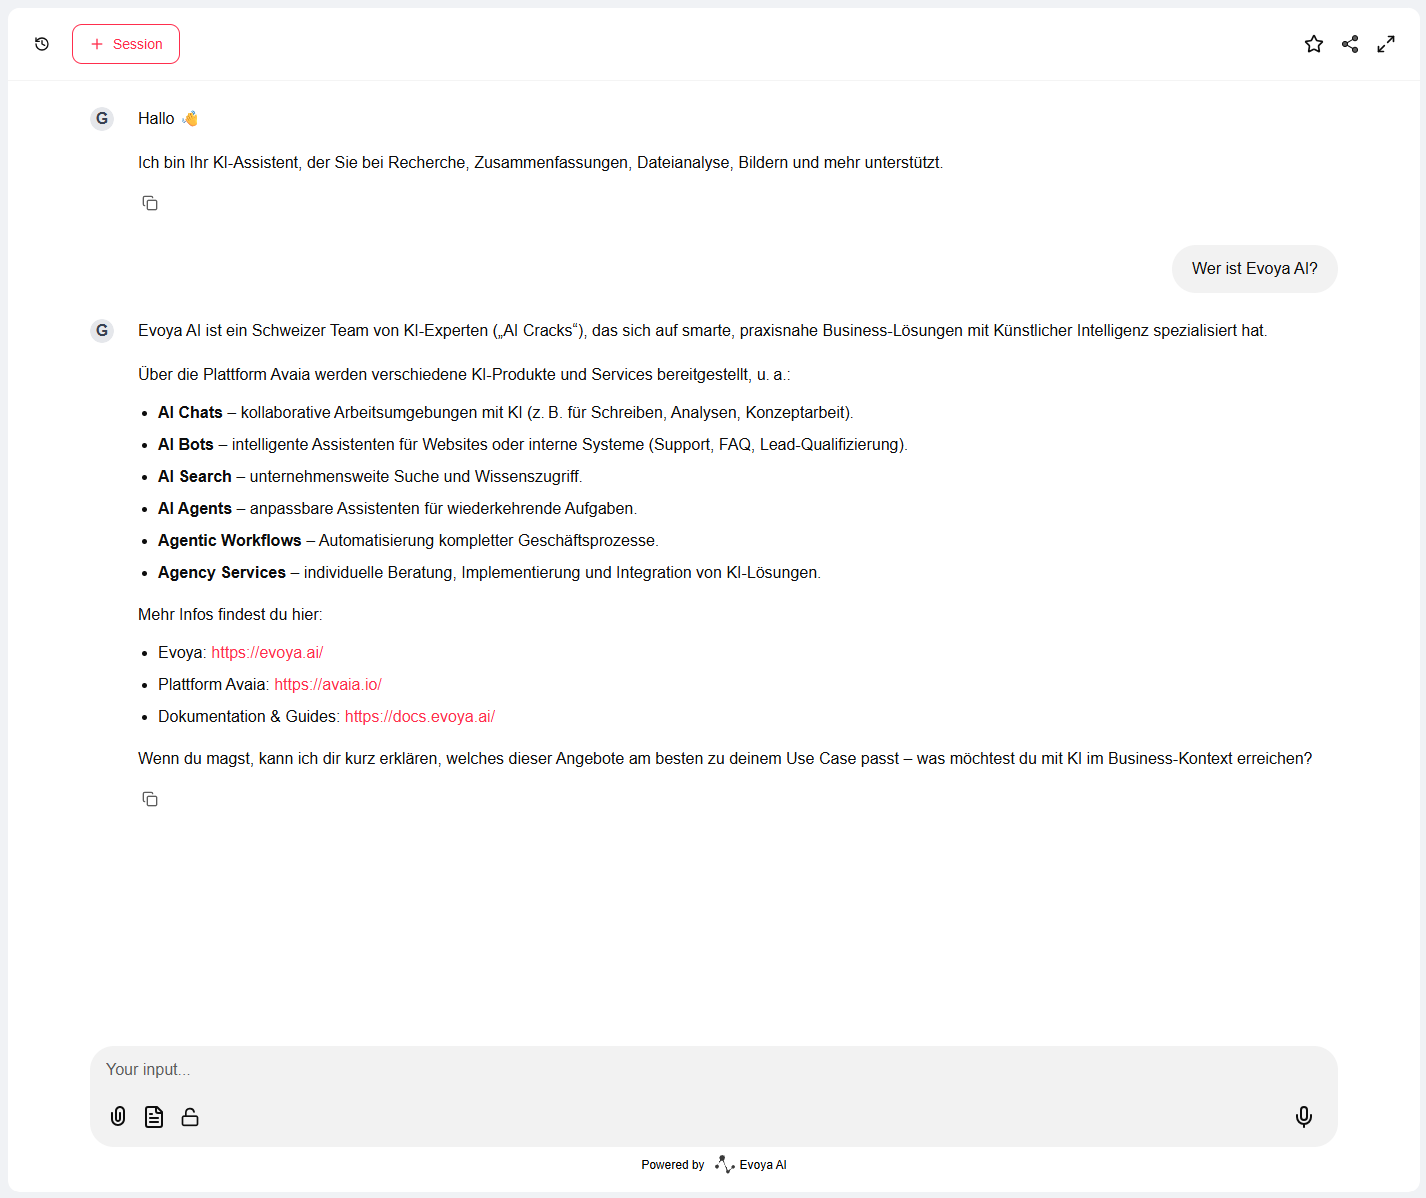
2. Chat Input Field
The chat input field is located below the chat view and is the central place for interacting with the AI.

Possible actions:
- Enter text
- Dictate content (Speech-to-Text)
- Upload files
- Generate text and images (depending on the agent and its configuration)
All inputs are sent to the AI and subsequently displayed in the chat view.
3. Header Area
The header area provides essential controls for managing your chat sessions and their visibility.

The following functions are available in the chat header:
- Start new session
- Show or hide chat history
- Mark chat as favorite
- Share chat (create link)
4. Chat History and Favorites
The chat history is located in the sidebar and is divided into two tabs:
- History: all chat sessions
- Favorites: only marked sessions

Each session shows a title and a short, automatically generated summary.
Via the three-dot menu, the title and description can be edited or the entire chat session can be deleted.
5. Working with Agents
The side area of the chat shows which agent is currently active. You can switch between different agents and work with specialized agents depending on the task.
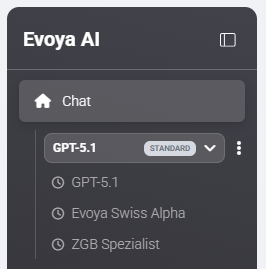
The selected agent influences:
- AI behavior
- available features
- data processing location