Introduction: Tools
The tools on the Evoya Platform allow you to equip your chat agents with additional capabilities. These tools enable agents to perform specific tasks, such as sending emails, generating images, or publishing blog posts on a WordPress site. Each tool can be individually configured to meet the specific requirements of your agents and workflows.
Adding Tools
Step 1: Add Basic Information
Regardless of the type of tool, the process always begins with adding basic information:
- Name of the Tool: Give the tool a unique name that helps you easily recognize it later and provides the agent with clear indications of the functionality the tool offers.
- Description: Add a description to clearly define the purpose and function of the tool. This helps the agent use the tool correctly.
Step 2: Set Access Type
Decide whether the tool should be available for the Team or Private. This setting defines who has access to the tool and can use it in their agents.

Step 3: Configure Tool Settings
Each tool has specific settings that you can configure to tailor its functionality to your needs:
Tool Types
API Tool
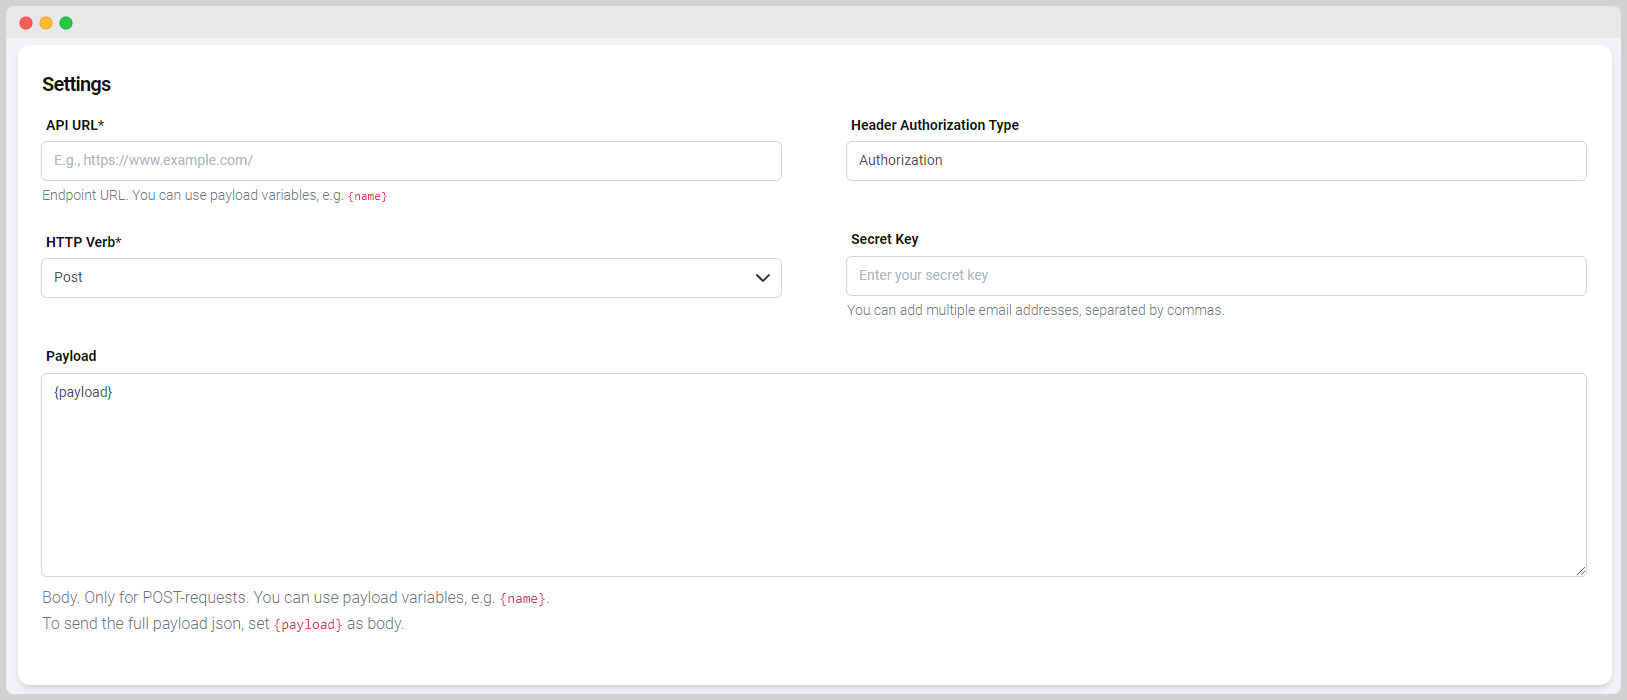
The API Tool allows you to integrate external services and systems by making API requests. This enables your agent to interact with various platforms.
- API URL: Enter the URL of the API the tool should communicate with.
- HTTP Verb: Choose the HTTP verb (e.g., GET, POST) to be used for the API request.
- Payload: Define the payload to be included in the request.

Image Generator
The Image Generator allows you to create custom images on demand using advanced AI capabilities.
- Agent Instructions: Write detailed instructions on how the agent should generate the image.
- Style and Color Palettes: Define the style and color palettes to influence the appearance of the generated image.

Email Tool
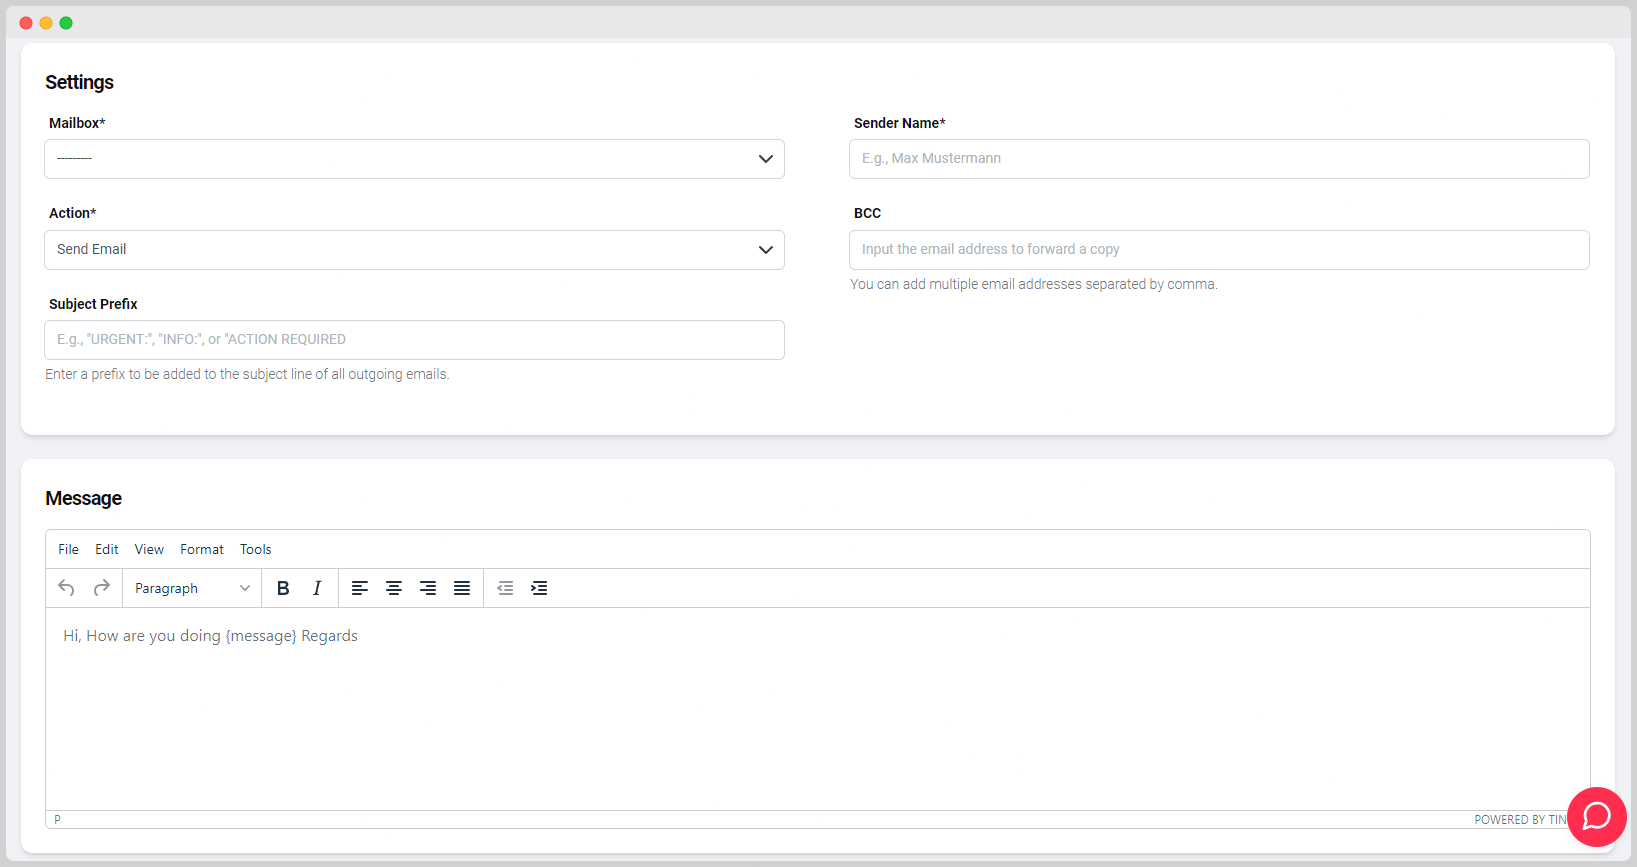
The Email Tool allows you to send emails directly from the platform, enabling seamless communication without leaving the interface.
- Select Mailbox: Choose the mailbox to be used for sending emails.
- Send Mode: Decide whether the email should be sent or saved as a draft.
- Subject Prefix: Define a prefix for the email subject.
- Sender Name: Specify the name of the sender.
- BCC: Optionally add BCC recipients.
- Message and Footer: Write the message and define the footer.

ClickUp Planner
The ClickUp Planner allows you to access lists within ClickUp and manage tasks, projects, and workflows directly from the platform.
- Task Interactions: Define how the agent should work with the information in ClickUp tasks, such as creating, updating, or analyzing tasks.

WordPress Tool
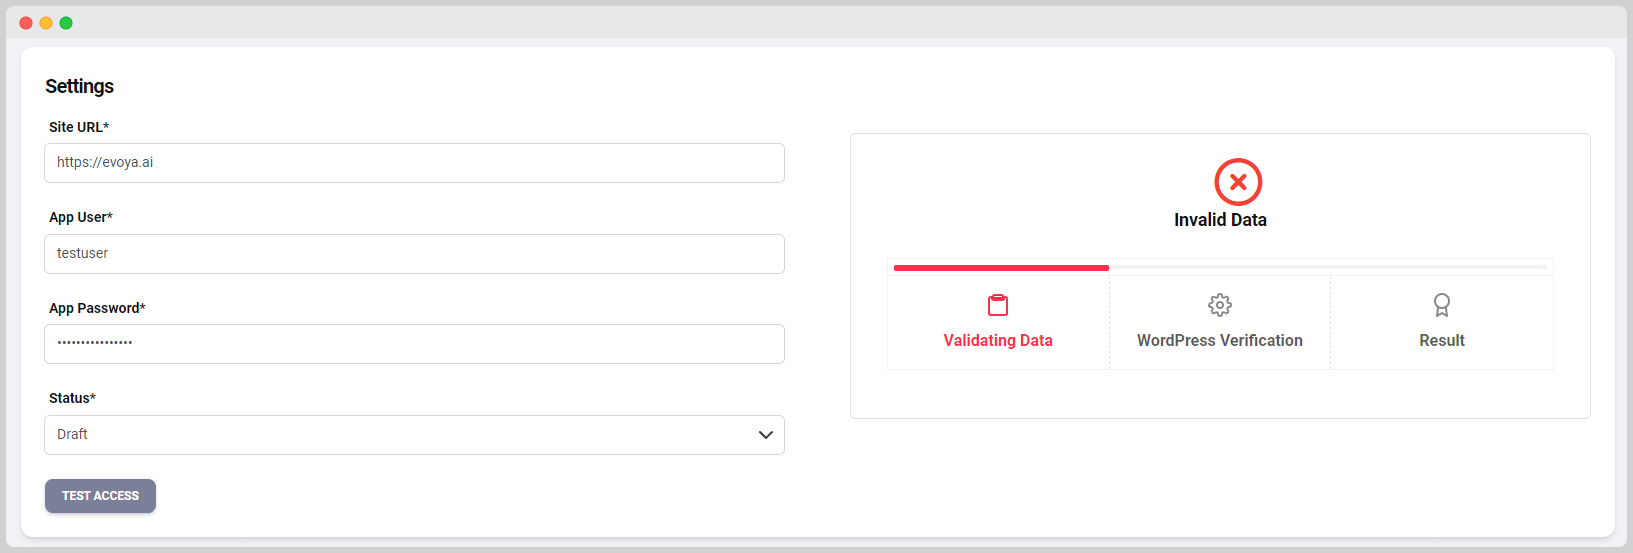
The WordPress Tool allows you to publish blog posts directly on your WordPress site, speeding up the content creation and publication process.
- Website URL: Enter the URL of your WordPress site.
- App User and App Password: Define the credentials the tool should use to connect with WordPress.
- Publication Mode: Decide whether the blog post should be saved as a draft or published directly.

Activating Tools for Chat Agents
After creating and configuring a tool, the next important step is to assign and activate this tool for a specific chat agent. An easy way to access this page is through the Agent Overview. Click on the respective agent to go to the edit page, where you can add the tool to the agent and activate it by toggling the switch. Each tool is deactivated by default and must be manually activated for the agent to access it.