Welcome to the Evoya Platform
Welcome to the Evoya Platform, your gateway to automating business processes with powerful AI-driven agents. This guide will walk you through the initial setup and key features so you can get started quickly and effectively.
Quick Registration Guide
Before you can access the platform, you need to register an account. Follow these simple steps:
- Go to the registration page: Click here to sign up or navigate to the login page if you already have an account.
- Enter your details: Provide your email address, create a password, and fill out all other required fields.
- Confirm your email: Check your inbox for a confirmation email. Click the link in the email to activate your account.
- Log in: Once your account is activated, log in here with your credentials.
After logging in, you will be directed to the main dashboard where you can start setting up your AI agents.

Products Overview
1. Evoya Platform
The Evoya Platform streamlines business processes with AI, offering a customizable interface, multilingual support, and API integration. It provides secure data storage with precise user access control and permissions.
2. AI Workspaces
The AI Workspaces serves as an interactive hub where you collaborate with AI agents. Here, team members can draft customer letters or generate responses to inquiries directly in the workspace. This enables quick and efficient handling of communication tasks.

3. Public AI Chats
AI agents are intelligent software entities equipped with advanced language models that take on automated tasks within a company. They are particularly effective in handling repetitive tasks and can be flexibly deployed across various communication channels such as chat services, WhatsApp, or Microsoft Teams, as well as in different enterprise software solutions like CRMs and ERPs.
Features Overview
The Evoya Platform offers a comprehensive platform designed to automate business processes through intelligent AI agents. Key features include:
1. AI Agents
AI Agents serves as an interactive AI interface that can be used as website chats in customer communication or for customer support. These chats can also be used internally, for example, in customer portals. For use in security-critical environments, additional authentication mechanisms can be implemented to regulate and protect access.
2. Email Automation
Email Automation feature allows users to automate and streamline email communications, improving efficiency for tasks like customer follow-ups, lead nurturing, and internal notifications.
3. Data Sources
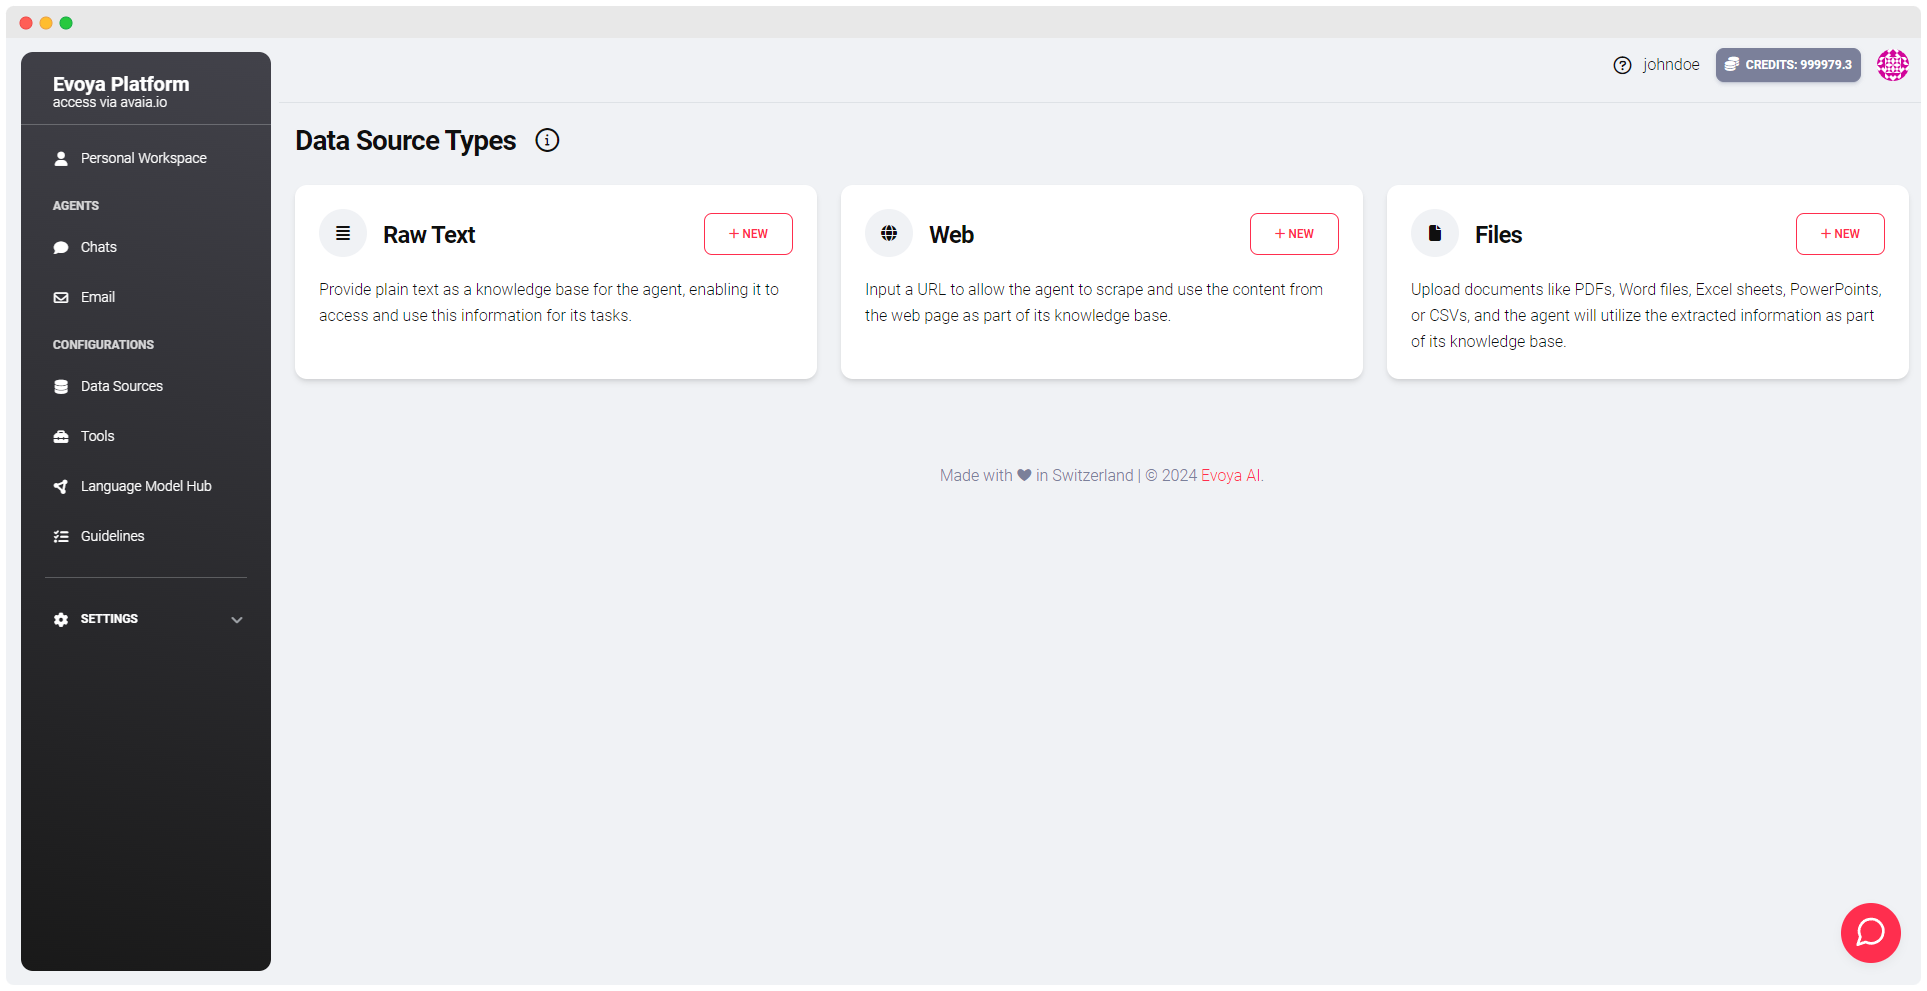
Integrate various data sources, including web data, files, and raw text, to enhance your agents' capabilities. You can set up new data sources here. This allows your agents to access and utilize relevant information, improving their efficiency and accuracy.

5. Tools
Configure specific tools that enable your agents to perform tasks such as scraping web data, processing files, or executing custom scripts. You can set up new tools here. These tools extend the functionality of your agents, making them more versatile and capable of handling complex tasks.

6. Language Model Hub
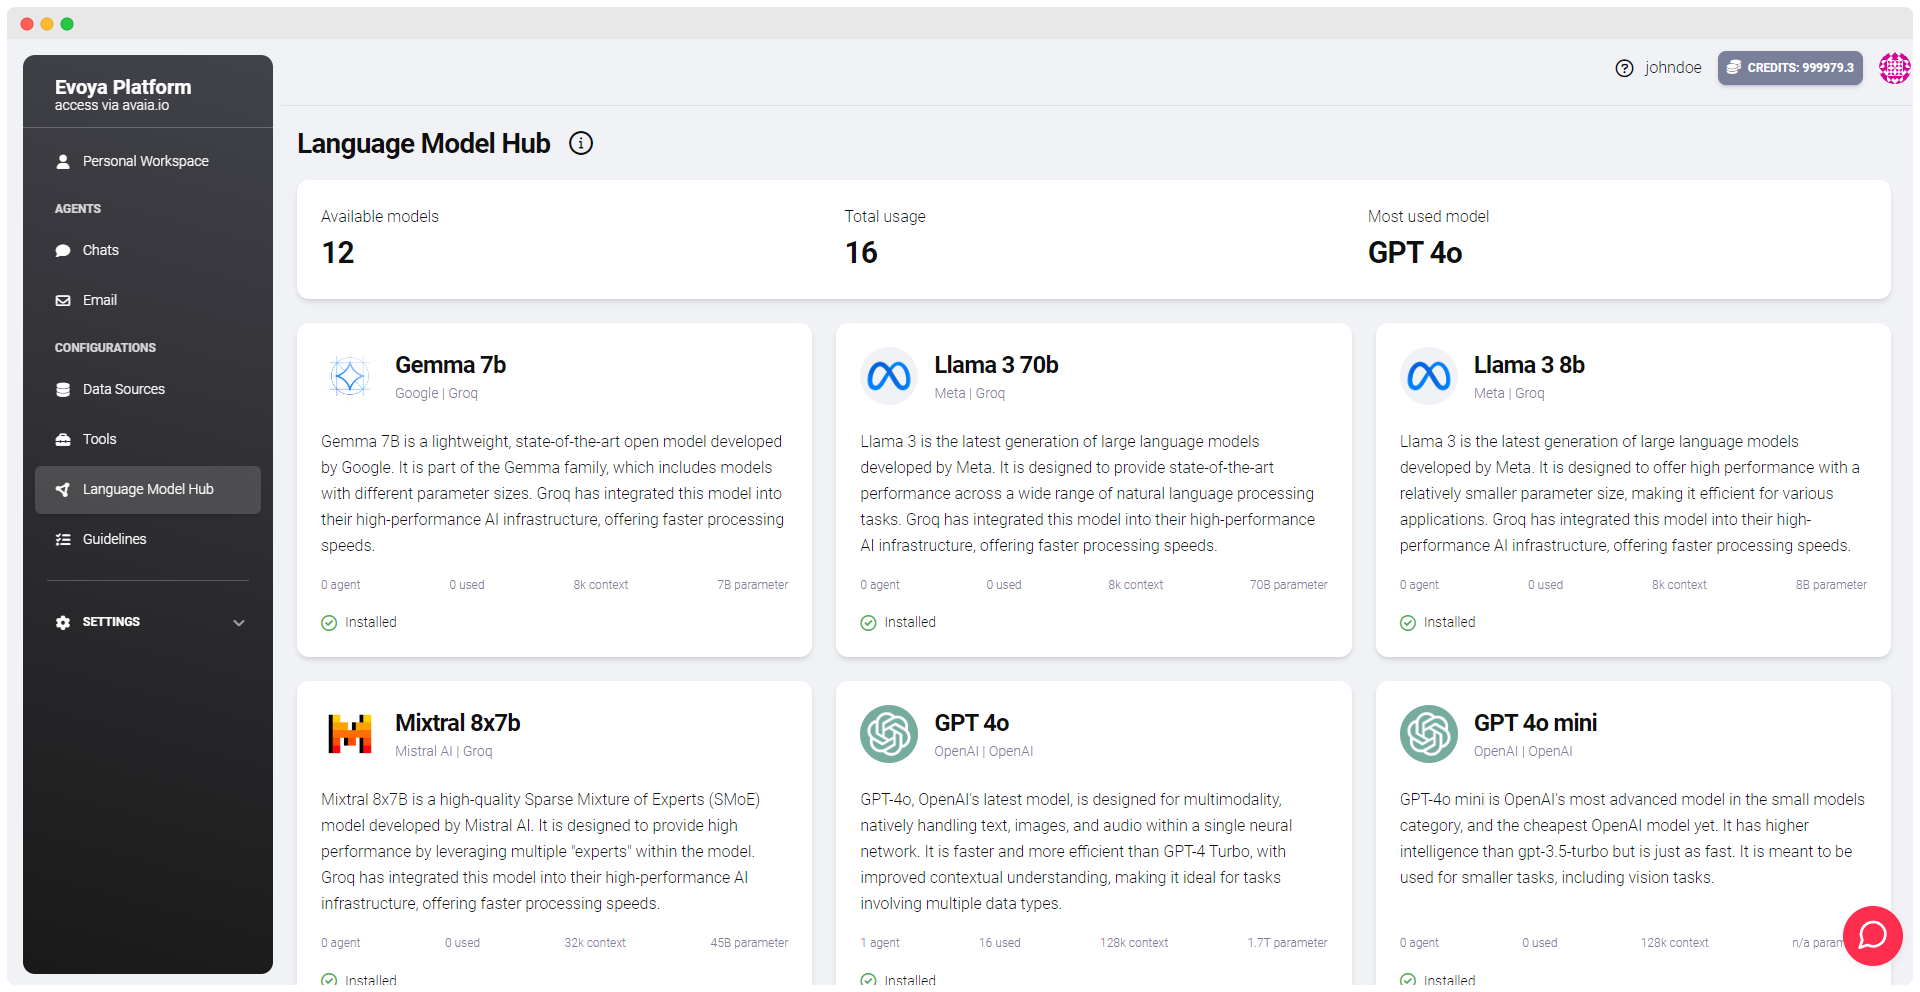
The Language Model Hub allows you to choose from various language models to power your agents. You can add, configure, and switch models as needed to give your agents the flexibility to handle different tasks. Access the hub here.

8. Guidelines
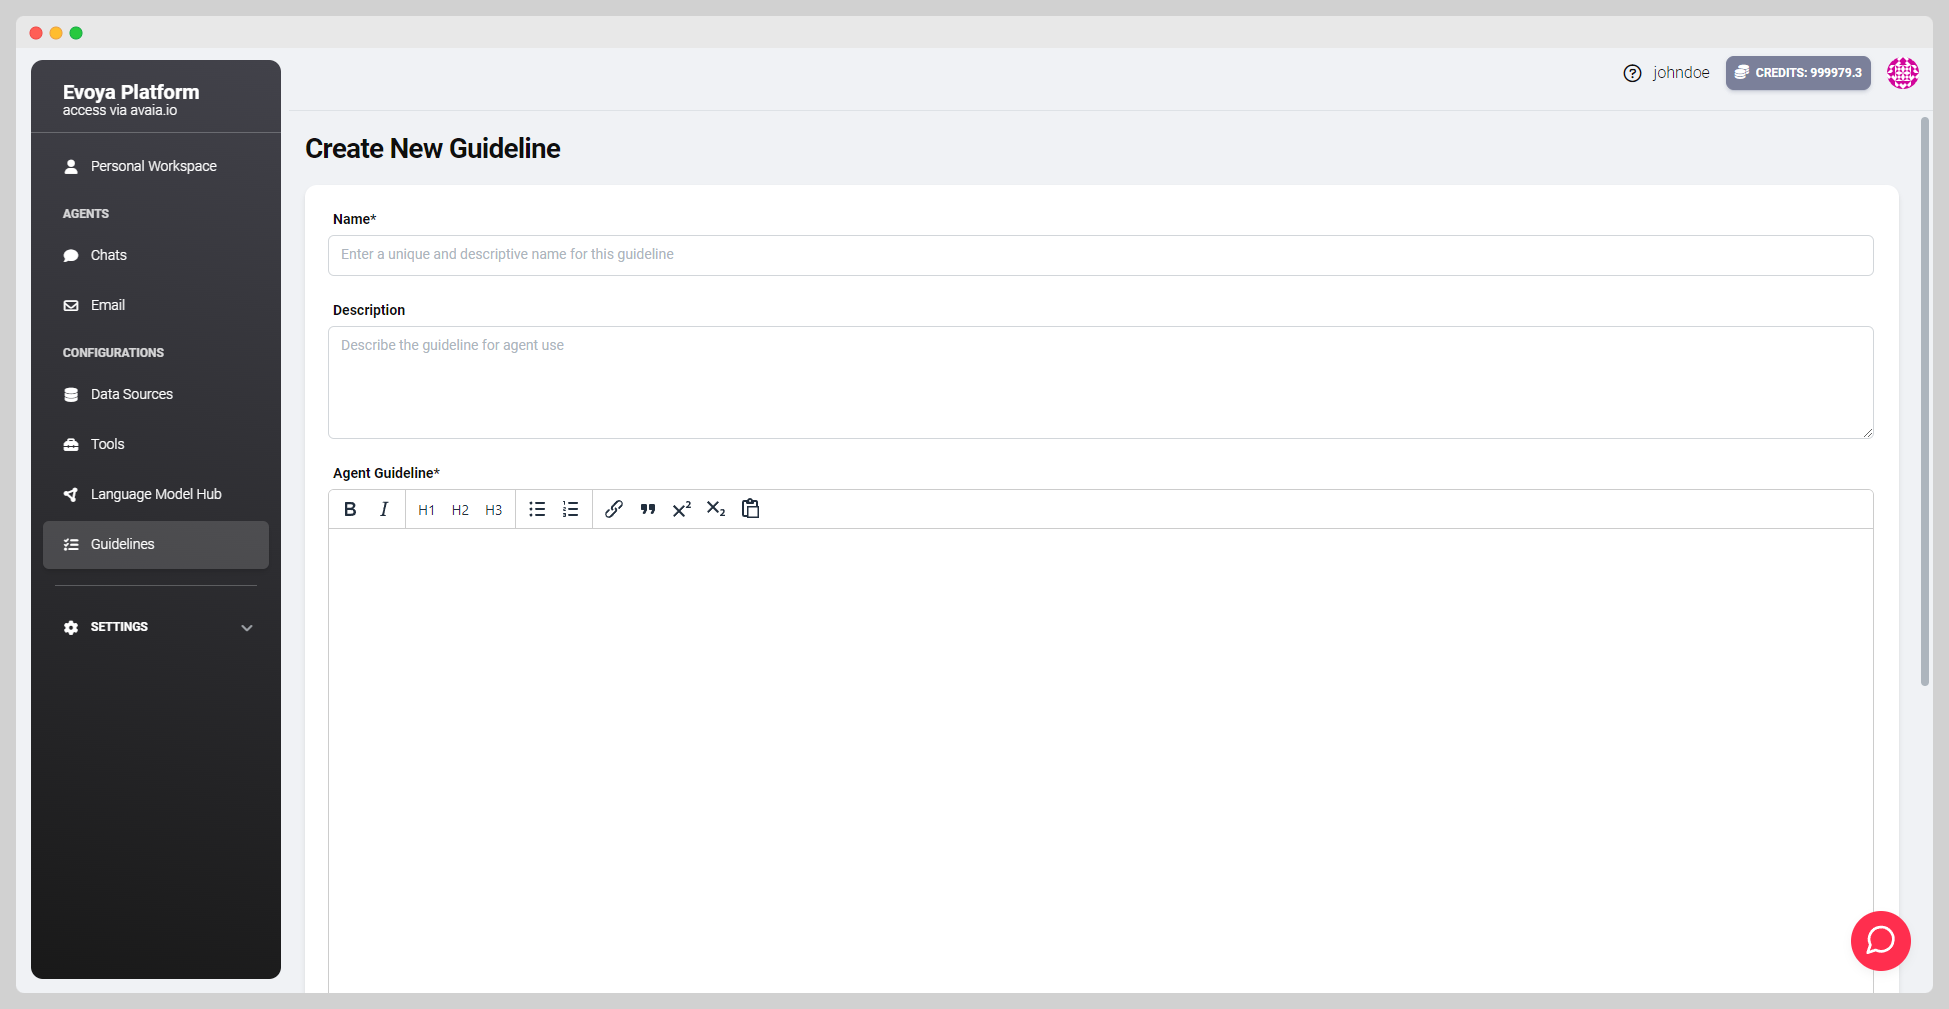
Create reusable guidelines that can be inserted into any agent's prompts. For example, you can define a brand guideline once and then apply it across multiple agents by toggling it on or off, instead of manually inserting the instruction into each agent's prompt. This centralizes control and simplifies the setup process.

8. Scheduled Tasks
Set up agents to perform recurring tasks at specified intervals. You can schedule tasks to run hourly, daily, weekly, monthly, or at a custom interval. Once scheduled, the agent will automatically execute the assigned task at the specified times.
9. Manage Users and Organization
Easily invite new users to your organization and manage existing members. Go to the Member Management Page to add users by entering their email addresses. You can assign roles such as "Member" or "Administrator" and send invitations via email.
Getting Started: Setting Up Your First Agent
Setting up your first agent is simple. Here’s how:
- Log in/Register: If you haven’t registered yet, complete the registration process here or log in here.
- Navigate to the Chat Agents section: Click on Chats in the side menu.
- Create a new agent: Click the "+ Agent" button at the top right of the agent overview page to create your first agent. A detailed guide can be found here.
- Use the agent: Once the agent is configured, you can use it to automate tasks. Interact with the agent through your personal workspace or embed it on a website to enable broader usability.
Next Steps
- Explore more features of the Evoya Platform: An overview can be found here.