Core Features
The chat is your central workspace for AI on the Evoya platform – similar to ChatGPT or Copilot, but directly connected to your agents and data. Here you handle spontaneous tasks as well as structured workflows: create texts and images, analyze documents, research, or dictate content.
Structure of the chat
The chat consists of four areas:
- Chat view – shows the ongoing conversation with all inputs, responses, and generated content
- Header bar – top: start new chats, select agents, favorites, and sharing
- Sidebar – left: chat history and favorites
- Chat input field – bottom: central place for your entries and actions
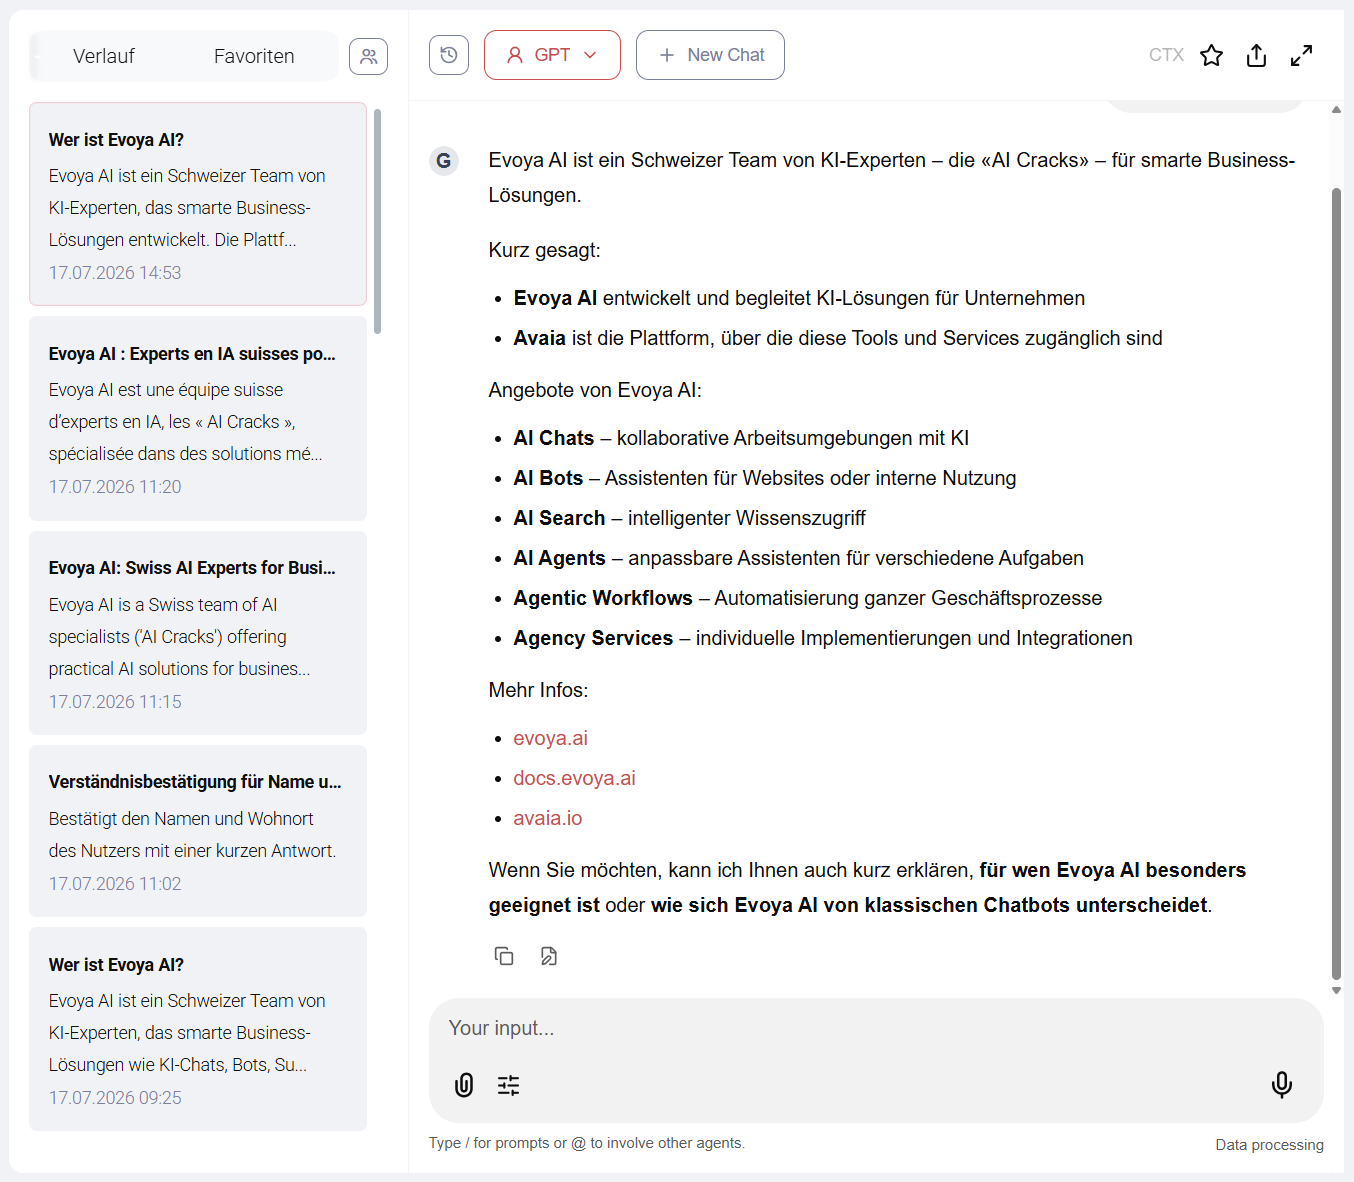
Chat view
The chat view shows the ongoing conversation with all your inputs and the AI's responses. Generated content – texts, images, tables – is displayed here directly.
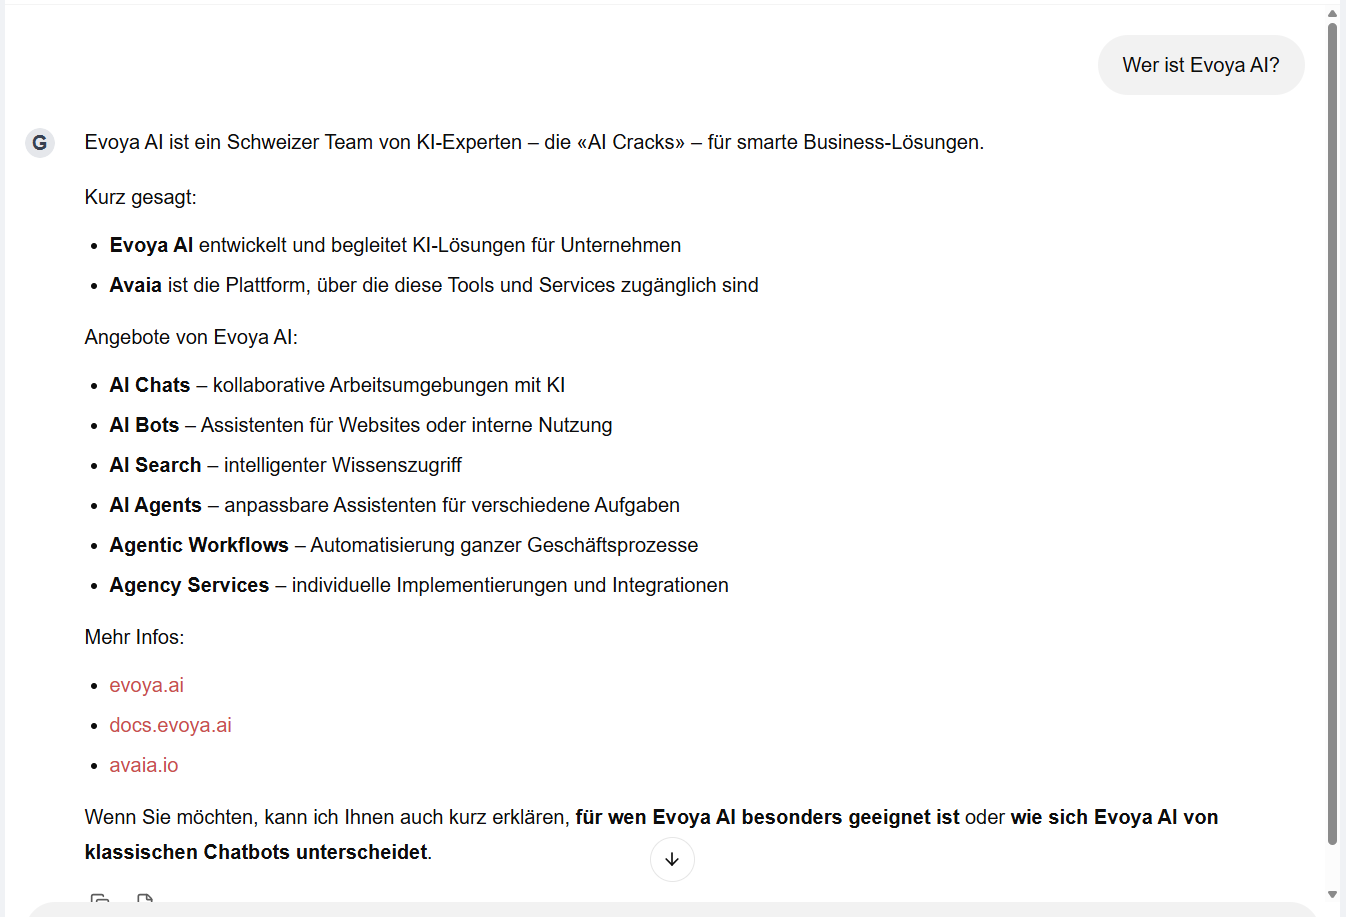
Header bar
The header bar at the top of the chat contains the central controls:
Left side:
- New chat – starts a fresh session without the context of the previous one
- Agent selection – shows the active agent and lets you switch
Right side:
- Favorites – quickly access marked chats
- Share – creates a link to the current chat

Select agents
Via the agent selection in the header bar you see which agent is currently active and can switch between different agents. The selected agent determines:
- the AI behavior
- the available features
Details on agents and their configuration can be found in the Agents section.
Address additional agents
With @agentname you can address one or more additional agents directly in the chat and delegate work. The selected main agent stays active – the additionally addressed agents are pulled in for the respective request.
Example: @research asks the research agent to handle a subtask while the main agent coordinates the overall response.
Share chat
Via the share function you create a link to a chat. This lets you share conversation histories or results with other people without leaving the platform interface.
When sharing, you can configure the following settings:
- Public – determines whether the link is public. If public, anyone with the link can view the chat session.
- Expiration – sets when the session link expires and becomes inaccessible.
- Content – decides whether only the content up to the point of link creation is shared, or also future messages if the conversation continues.
Sidebar
The sidebar on the left contains the chat history and is divided into two tabs:
- History – all chat sessions
- Favorites – only marked sessions
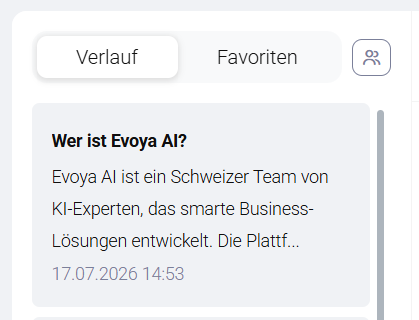
Each session shows a title and a short, automatically generated summary. Mark important chats as a favorite to find them faster. Via the three-dot menu you can edit the title and description or delete a session.
Chat input field
The chat input field at the bottom is the central place for your entries. Here you enter text, dictate, upload files, and access advanced features.

Data processing
On the right below the input field you find the Data processing link. Click it to see where your data is processed (CH, EU, or US). The location is determined by the configuration of the active agent.
Modalities (Input and Output)
In the chat you can make various inputs and receive different outputs. The following table shows which modalities are available:
| Modality | Input | Output | Description |
|---|---|---|---|
| Text | ✓ | ✓ | Text input and text output |
| Image | ✓ | ✓ | Analyze images (incl. OCR) and generate images |
| Documents | ✓ | ✓ | Read/analyze PDFs, Word, Excel etc. and generate documents |
| Speech (Speech-to-Text) | ✓ | – | Voice input via microphone, converted to text |
| Voice output (Text-to-Speech) | – | – | Not available in chat, only via the Konversa product |
Generated files from chats – such as images, Word documents, or presentations – are stored by default in your private area of the file storage. If a project is selected in the chat, the files are saved in the corresponding project folder instead.
The agent's capabilities depend significantly on the activated tools. Whether an agent can analyze or generate images, for example, depends on whether the respective tool is activated for the agent. This also includes internet access for research or connections to CRM or ERP systems.
Slash commands
Slash commands are shortcuts that you start with a forward slash (/). They offer quick access to frequently used actions. Type / and a list of available commands appears.
Advanced features
The configuration icon in the chat input field (bottom left) opens access to further features. Which items are visible depends on your role and the active agent:
- Prompt Library – reuse saved prompts
- Creator – integrated Markdown editor for structured content
- Projects – project-based chat organization
- Privacy Shield – anonymize data before AI processing