Data Sources
Data sources form the foundation of the knowledge base for your chat agents. They provide relevant information that agents use to deliver precise and well-founded answers. By integrating and configuring data sources, you can expand the informational scope of your agents in a targeted way.
The search in data sources combines semantic search with full-text search. Semantic search understands the meaning and context of a query and finds content-relevant matches, even when the exact words do not match. Full-text search complements this with exact word matches. Together, they ensure context-relevant and precise results.
The Evoya platform supports four main types of data sources: Raw Text for plain text data that you add manually; Web Data for content from websites via URLs; Files for documents such as PDFs, Word files, Excel spreadsheets, or CSV files; and API for connecting external data sources whose data is automatically retrieved, vectorized, and stored.
Add a data source
To create a new data source, navigate to Data Sources in the platform and click «+ Data Source» in the top right. Select the desired type (Raw Text, Web Data, Files, or API) and click «+ New» to start the setup. The overview shows all your created data sources – from there you can open and edit existing data sources.
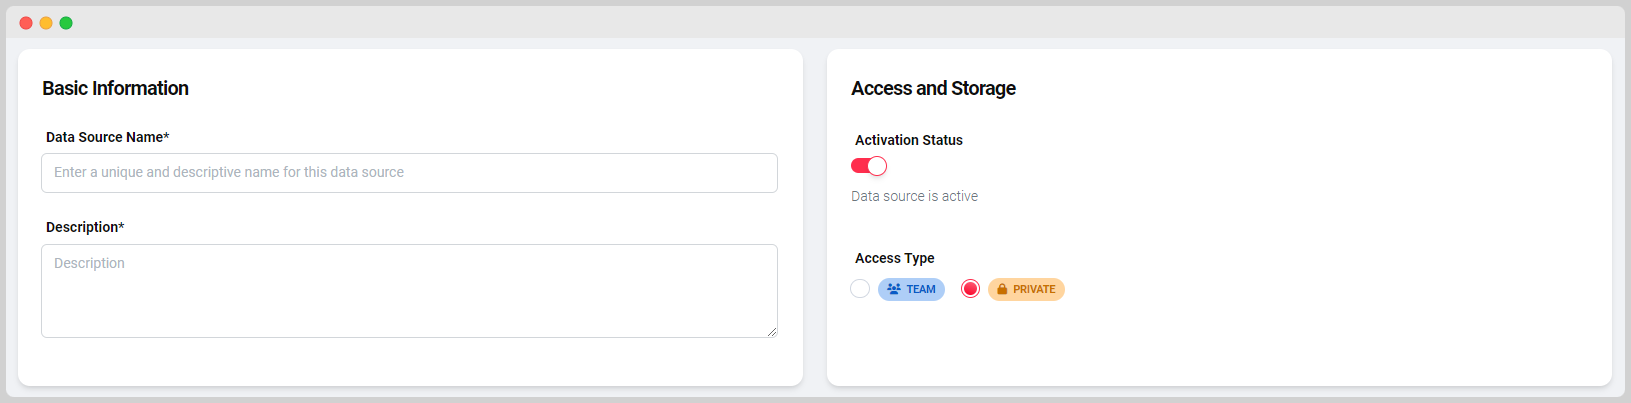
Regardless of the type, the process begins with the basic information: give the data source a unique name and a concise description. A precise name and a meaningful description are crucial for the agent to correctly understand and use the content.
Next, define the activation status (enabled by default), the access type (Team or Private), and the storage provider. By default, the data source is vectorized and stored in Switzerland. For a different cloud or storage provider, contact support.
Add content
Depending on the type of data source, you add the appropriate content in the last step.
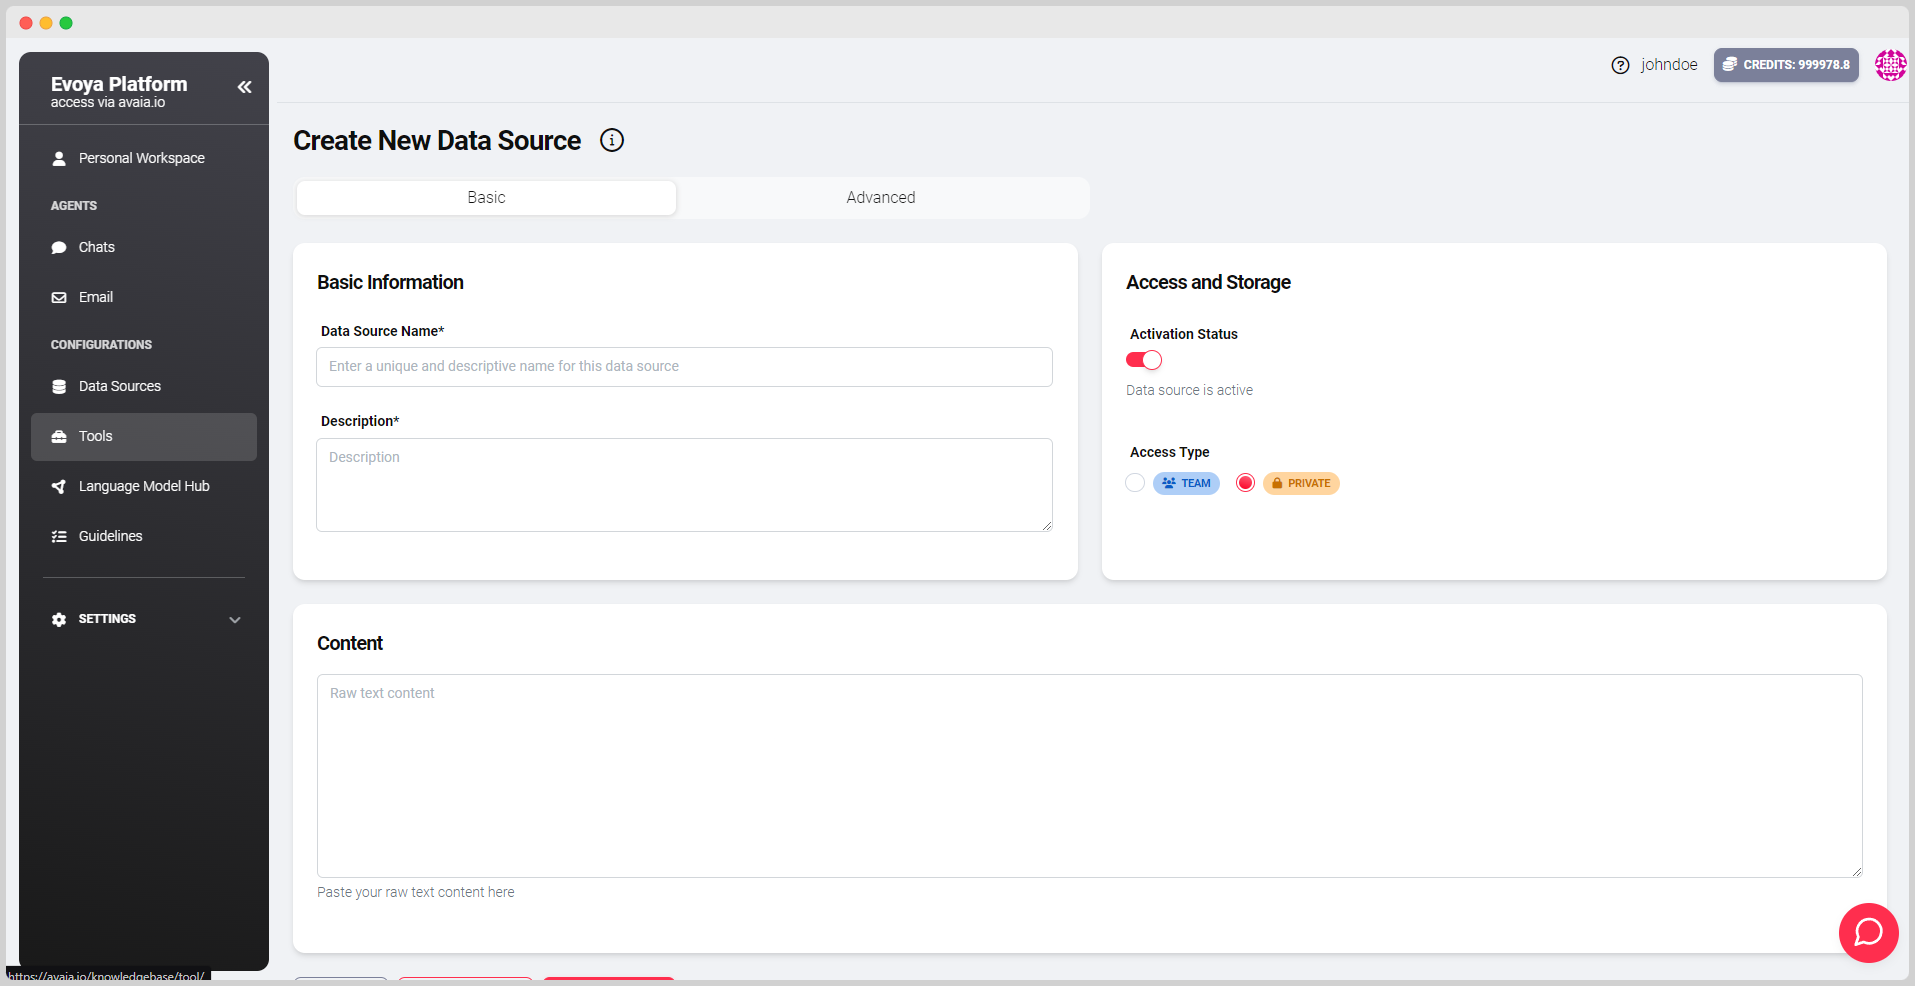
Raw Text: Enter the desired text directly into the input field and click «Update Data» to save the data.
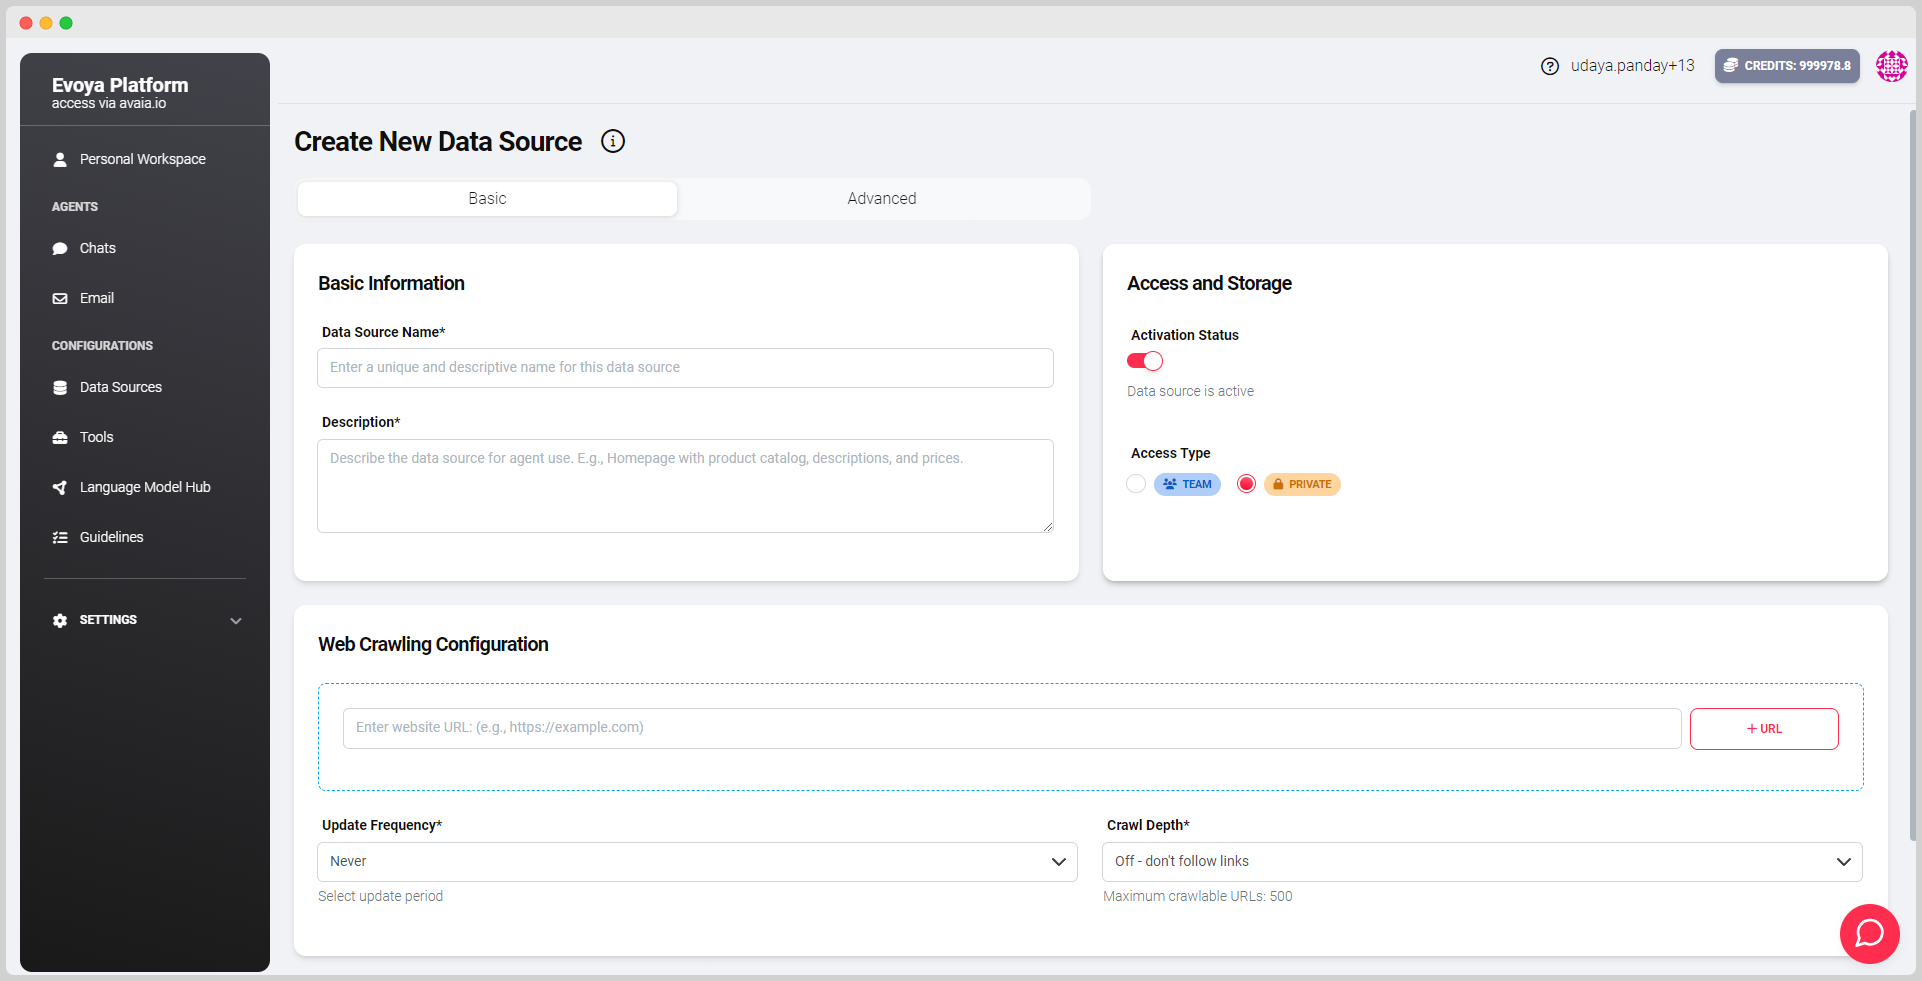
Web Data: Enter the URL, click «Plus-URL», set the update frequency and crawl depth (level 1 to 3), and click «Update Data».
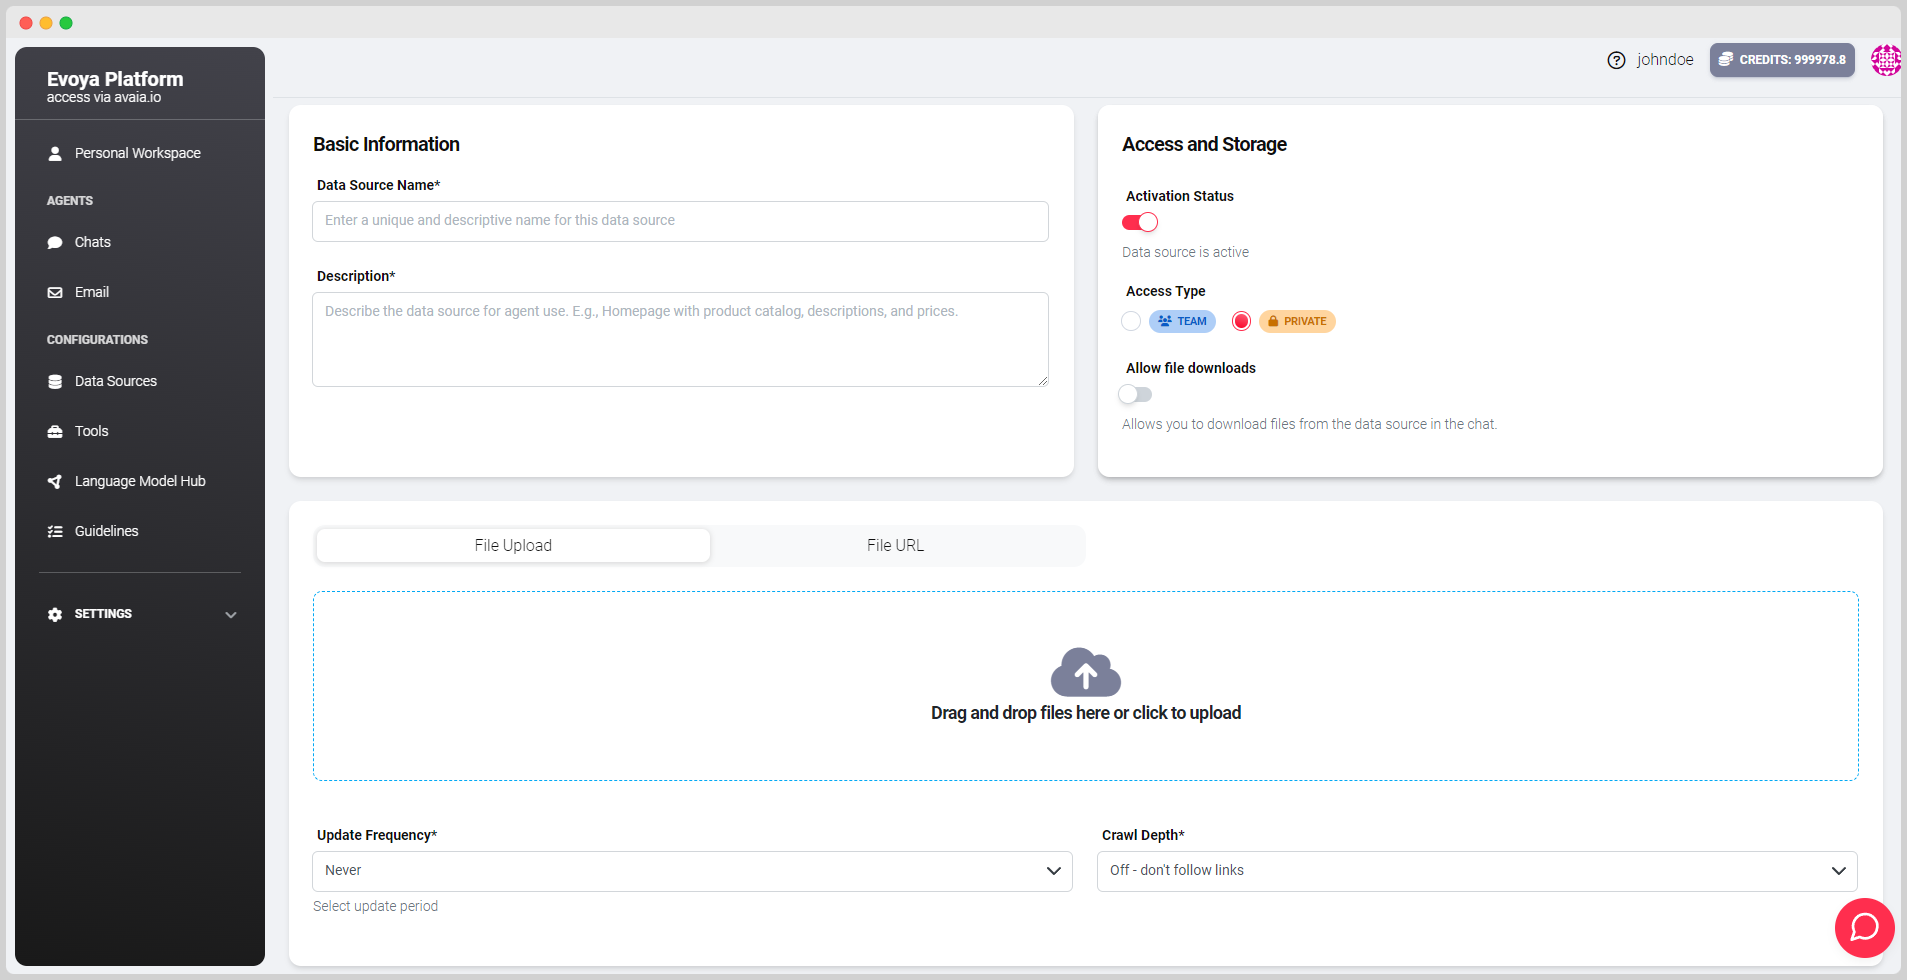
Files: Upload documents via drag-and-drop or the upload zone, or add a file URL. Also set the update frequency and crawl depth here and click «Update Data».
API: Configure the API connection according to your data source requirements. The data is automatically retrieved, processed, and vectorized. Set the update frequency and click «Update Data».
API configuration
For setting up API data sources, contact us through our Support Form for assistance with configuration.
Edit a data source
To edit an existing data source, open the overview and click on the title or the edit icon. In edit mode, adjust the content depending on the type: texts directly in the input field, URLs via edit or remove icons, files via the drag-and-drop zone. Finally, click «Update Data» to apply all changes.
Activate a data source for agents
Activation required
Data sources must always be activated in the agent's edit screen. An assigned data source only takes effect when it is switched on there.
After creating and configuring a data source, assign it to a chat agent and activate it. To do this, open the Agent Overview, click on the respective agent, and add the data source. Each data source is deactivated by default and must be manually activated for the agent to access it.